
Can’t go into the office?
Want to save on the cost of paper business cards?
Need to connect with anyone, anytime, online and offline?
Sansan Virtual Cards make all these possible. And here’s another way to set them up.
1. Save an editable bizcard template (provided by Sansan) in a local folder on your PC.
2. Log in to Sansan.
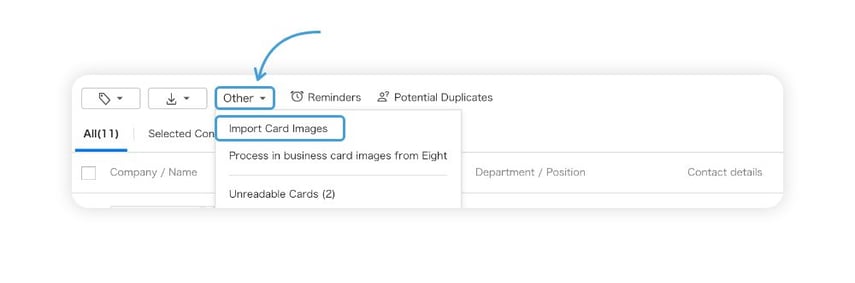
3. From the main page, click on Other and then Import Card Images.
6. Go back to the top screen.
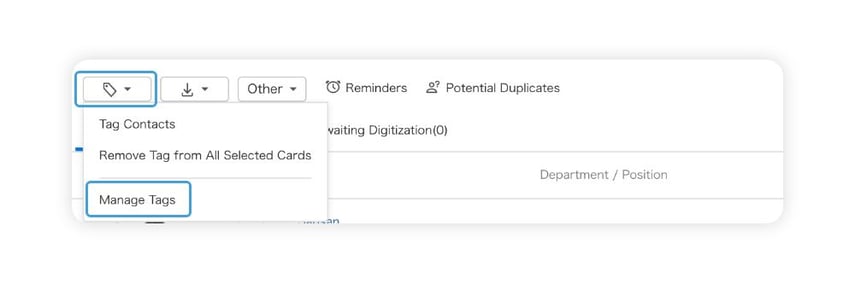
7. Click on the tag icon and then Manage Tags.
8. Click on New.
9. Input a tag name and Save.
It’s good to use an easily identifiable tag name, such as Username-MMYY
10. Go back to the top screen and click on your name.
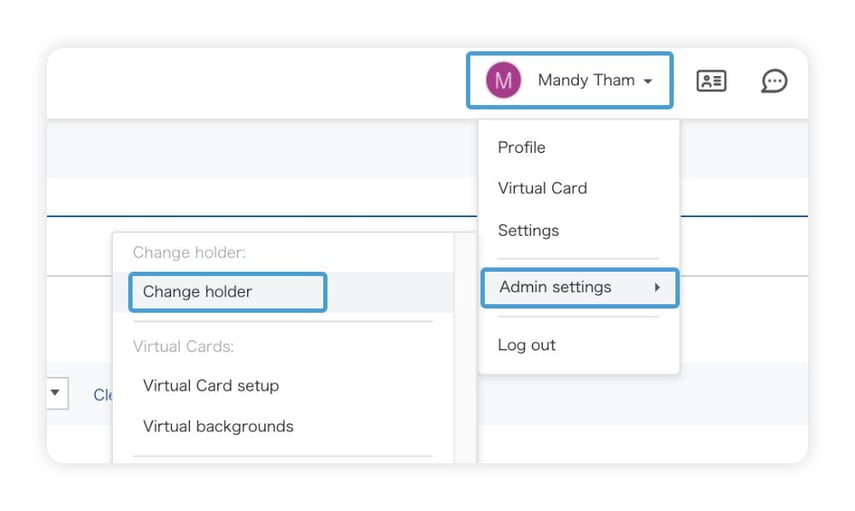
11. Go to Admin settings.
12. And then Change holder.
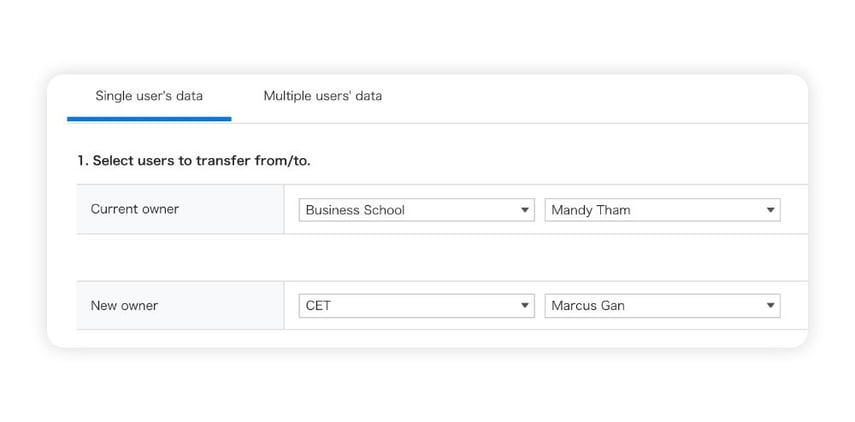
13. Select users to transfer from/to.
The current owner will be the administrator.
The new owner will be the user (you).
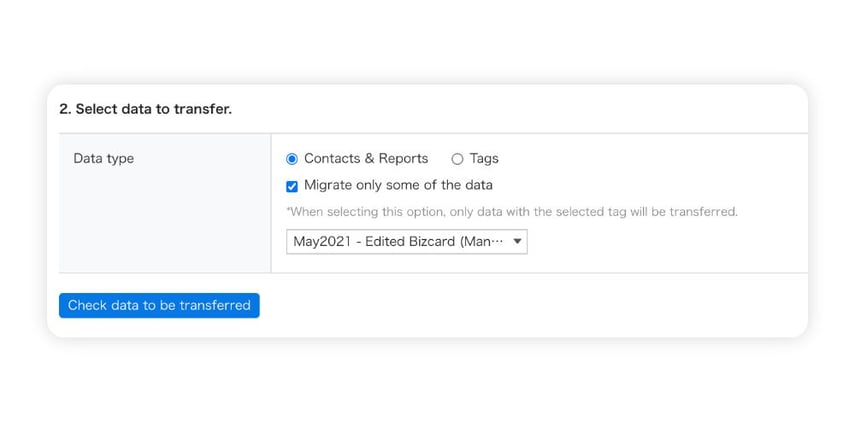
14. Put a check by Migrate only some of the data.
15. Select the tag name that was created.
16. Click on Check data to be transferred.
17. Double-check everything.
The number of cards to be migrated will be the total number of bizcards uploaded. When you’ve checked them all, click on OK.